
Restoring Quarry Tiles
This is a labour of love. Revealing and restoring the quarry tiles has not been easy. If you have come here hoping to find a quick easy solution to restoring quarry tiles then step away. The only thing that works is hard work.We first spotted that we perhaps had quarry tiles in the kitchen when we investigated the gas meter. Behind the cupboards you could see some original flooring and it was quarry tiles. In the hall and dining room the floor was covered in carpet but we began to suspect we had quarry tiles all the way from the tradesmans entrance to the back of the kitchen. Under the carpet in the Dining Room…(This is a photograph from the moving in week, hence all the boxes.)
 and under the modern cream tiles in the kitchen.
Revealing the quarry Tiles
Fantastic we thought we will just reveal the quarry tiles, simple. The original encaustic tiles in the hall were in great condition and when we lifted the carpet they just needed a good clean. We used lithofin tile restorer and they came up a treat. The quarry tiles in the tradesman’s entrance were in a worse state this wasn’t dirt and old wax polish this was carpet glue BUT with a bit of help from a scraper they soon came up. You can see below where the encaustic tiles in the diamond pattern stop and the quarry tiles in the checkerboard pattern start. When it came to the dining room things weren’t so simple. The dining room was difficult, lifting the carpet was easy but the tiles were in a very bad state covered in sticky adhesive and bitumen (though this was nothing compared to the kitchen).
Removing adhesive and bitumen from Quarry tiles
Chemicals! just pour chemicals on them.
We do not like hard work and love a shortcut so when we discovered that there were products on the market for cleaning up quarry tiles we bought the lot. Nano cleaner, floor stripper, even cement away. None of them worked (sure they did a little). We found the best and easiest solution to be a wallpaper steamer, a scraper and where appropriate a chisel. Steam seems to penetrate and loosen where everything else fails.
 The tiles are very hard and can withstand a lot of abuse. After a lot of elbow grease we got them looking like this.
  As you can see they still have a lot of ingrained dirt. The next stage will be to put a tile cleaner on and hire a floor scrubber to get all the residue off.
Removing cement from Quarry tiles
In the kitchen the tiles were laid on a thick base of cement, which in turn was on top of lino, which was stuck down to a layer of screed. Screed is a thin concrete used to level the floor.First I enlisted the help of my nephew (that will teach them to let me babysit). With a crowbar and safety glasses I set him off whilst telling him tales of sweeping chimneys! He was a great help but we had only just removed the first nine tiles.
 On New Years day we set about the rest of the room. We used a breaker to get the tiles and cement up and then a crowbar to ease up the lino.
 It was a horrible job and took three days to finish. We were then left with a floor that looked like this.
 We then used the steamer to lift the screed.
 and two weeks later after doing it every day we are finally getting somewhere
 and the view from the door makes sense of it all.
 We are now going to try using chemicals to remove the cement and then we will move onto cleaning them all up. This seems to be an everlasting story… Can’t wait to update you with a lovely before and after shot!
UPDATE
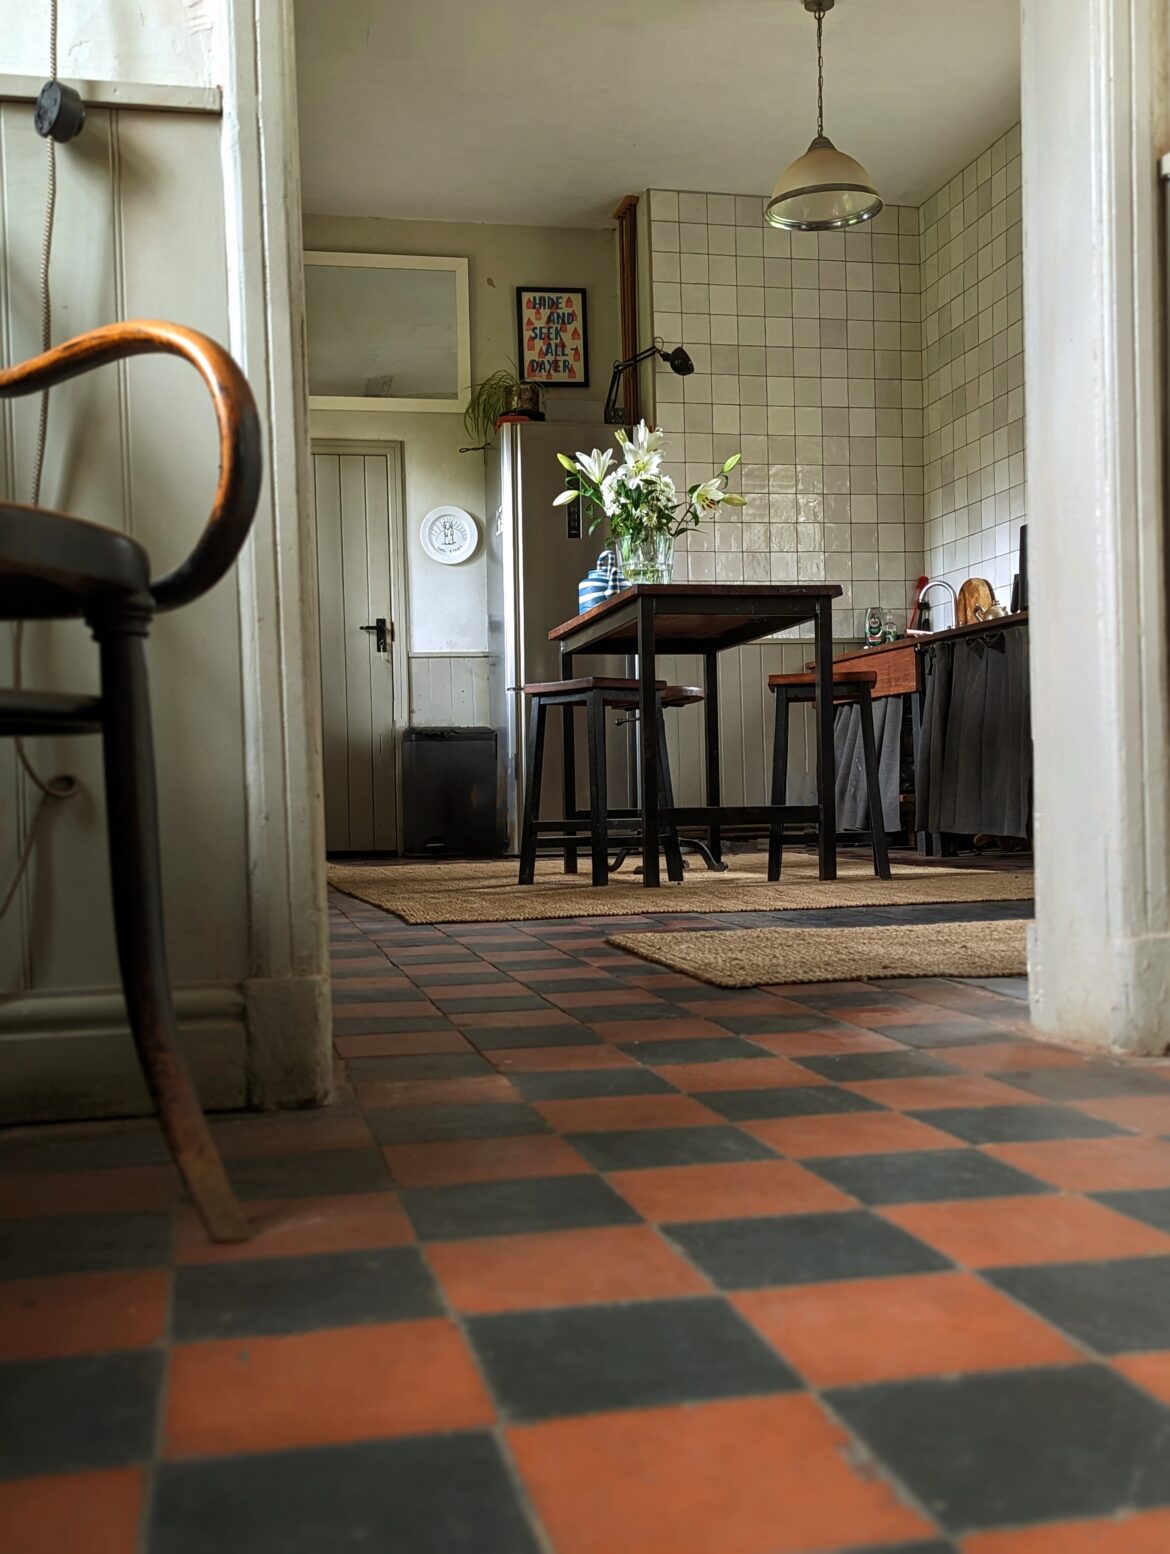
The final tiles have been cleaned we have done it! We gave the tiles a final wash over with cement away which cleans the residue off (watch out it can also eat away the grout) the tiles were then sealed with a breathable sealant. We nearly gave up and would never want to do it again but they are great and original to the house. You can see the finished tiles in the kitchen below and read more about the rest of the work on the kitchen here.



Wanted to thank you for this post – I never would have thought of using a steam wallpaper stripper to remove screed from quarry tiles (despite there being one sitting in the room with me!) This top tip saved me hours. However, I also lost hours pouring over your wonderful renovations, a wonderful home – the courtyard and the tradesman entrance are fantastic!
Thanks Laura, the power of a wallpaper steamer – found it better on the screed than on our wallpaper! It really is a labour of love getting back to the tiles but so worth it. Love your compliments too X